Crimson Desert Beginner’s Guide: What to Do First and How Everything Works
Crimson Desert drops you into the Pell region with very little hand-holding and a lot of systems running quietly in the background. Within the first hour you’ll encounter bounty posters, a lantern that does mysterious things, camp provision icons you don’t recognise, and fast travel points that need activating before you can use them. None of this is explained particularly well by the game itself.
This guide is built from real questions that came up during our own first-hand playthrough — the things that actually confused us, the mechanics we had to look up mid-session, and the systems that clicked once we understood the logic behind them. If you’ve just picked up the game and are wondering what to prioritise, or you’re a few hours in and something isn’t working the way you expect, you’re in the right place.
Before we get into the detail, if you’re still deciding whether to buy, our 10 Things to Know About Crimson Desert Before You Buy covers what kind of game this actually is and who it’s best suited for.
What Kind of Game Is Crimson Desert, Really?
It helps to know what you’re playing before you start optimising for the wrong things. Crimson Desert is an action RPG from Pearl Abyss — the studio behind Black Desert Online — and it carries a lot of that game’s DNA into a single-player format. You play as Kliff, a mercenary captain rebuilding his company in a fractured world, and the game blends action combat, bounty hunting, camp management, life skills like fishing and animal taming, and a surprising amount of environmental puzzle-solving.
It is not a traditional CRPG in the Baldur’s Gate or Disco Elysium sense. There are no dialogue trees with morally weighted choices, and character progression is more action-game than RPG — you unlock skills, imbue attacks with elements, and develop weapon styles rather than allocating attribute points. If you’ve come from Baldur’s Gate 3, the feel is very different, closer to something like an open-world action game with RPG layering on top.
The first region, Hernand, is where almost everything in this guide is set. It’s the game’s tutorial zone in all but name — a dense web of bounties, camp quests, side content, and unlockable systems that reward players who engage with it fully before pushing deeper into the main story.
Your Early Hours: What to Actually Prioritise
The game doesn’t tell you this clearly, so here it is directly: your first priority in the opening hours is activating fast travel points as you go, and picking up every bounty poster you see. The Greymane Camp comes later — but knowing it’s coming helps you understand why the early game is nudging you toward certain quests.
Start With the Main Story, Don’t Wander Yet
Crimson Desert’s systems open up in sequence, and many of them are gated behind story progress. The Greymane Camp — your base of operations — doesn’t become available until Chapter 3, after the Hornsplitter fight, and Chapter 3 is realistically several hours into the game for most players. Some people spend 40 hours or more in Hernand before the story pushes them into later chapters. The bounty system becomes available once you find your first poster in Hernand. Fast travel points need to be physically activated before they can be used.
If you wander off exploring immediately, you’ll find yourself stumbling into systems you can’t use yet, or fighting enemies at the edge of regions you aren’t ready for. That said, Crimson Desert actively rewards side engagement — boss difficulty scales with your gear, and players who try to mainline the story tend to hit progression walls. The best approach is to follow the main quest as your spine, and engage with side content as it opens up around you.
Pick Up Every Bounty Poster You See
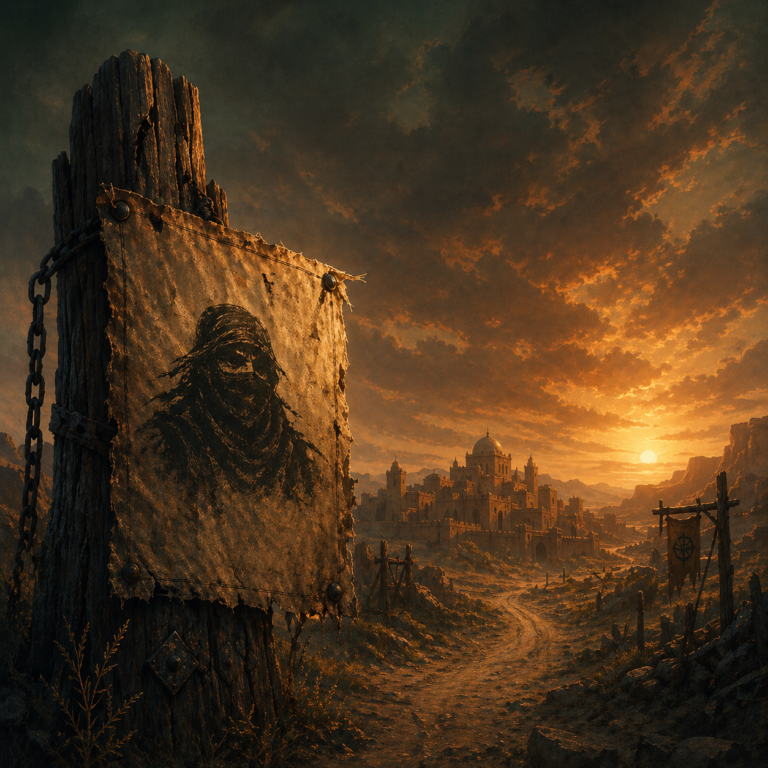
Bounty posters on notice boards and posts in town are how the bounty hunting system begins. The game won’t mark a target on your map until you’ve physically picked up their notice — the poster activates the hunt and creates the map marker. This is one of those things the game doesn’t explain: without the poster, the target doesn’t officially exist for you yet.
The rule is simple: pick up every poster you see. A dedicated bounty system guide is coming soon as part of this series, covering how to find targets, read map markers, and decide where to take prisoners once you’ve caught them.
Activate Abyss Nexus Points as You Go
Fast travel in Crimson Desert uses a network of Abyss Nexus points scattered across the map. They appear as blue icons when the area is revealed, and as Mysterious Energy markers when it’s still fogged. To activate one, walk to the centre circle and stand on it until it locks in.
The first fast travel point in Hernand is near Hernand Town, close to the Royal Trading Post. Activating it early saves a lot of time when you’re running bounties across the region. If the map is still fogged around an area you need to reach, look for the Hernand bells — ringing them reveals more of the region map.
Crimson Desert · Beginner’s Guide
Early Hours Priority Checklist
Work through these in your opening hours
Story Progress
Exploration & Navigation
Bounties
Core Systems
How the Bounty System Works
The bounty system is one of Crimson Desert’s most distinctive features and one of the most misunderstood in the early game. Here’s the short version of how it works.
Finding and Activating Bounties
Bounty notices appear on boards and wooden posts around towns in Hernand. When you pick one up, it activates the hunt and marks your target’s last known location on the map or in your journal. The target is tracked from the notice itself, not by a visible bounty marker above their head in the world — so if you’re walking past NPCs hoping to see an icon, you won’t.
Some targets patrol. Some are tied to specific locations like camps or buildings. The notice’s location description matters more than you might expect, because the game’s map marker shows a general area rather than a pinpoint.
Bounty Targets vs. Wanted Criminals
These are two different systems. A bounty target is someone with a notice — an outlaw you’ve been tasked to find and bring in. A wanted criminal is an NPC who has committed a crime, and the game’s wanted system tracks their status through states like Spotted, Searching, and Arresting.
The confusion usually comes from players expecting all dangerous or wanted-looking NPCs to be bounty targets. Only NPCs with active notices attached to your journal count as bounty hunts.
Capturing Targets Alive
Most bounties pay better when delivered alive, and the capture mechanic has a specific rhythm you need to follow. Chase the target, get close enough to trigger the tackle prompt, tackle them, then hit them a small number of times until a Tie Up prompt appears. Stop hitting the moment you see it — continuing past that point risks killing them and halving the reward.
Once tied up, carry the target to the constabulary listed on the bounty notice. It’s usually the nearest regional guard station, not necessarily the town where you found the poster, so read the notice carefully before you start running.
The Lantern and Memory Fragments
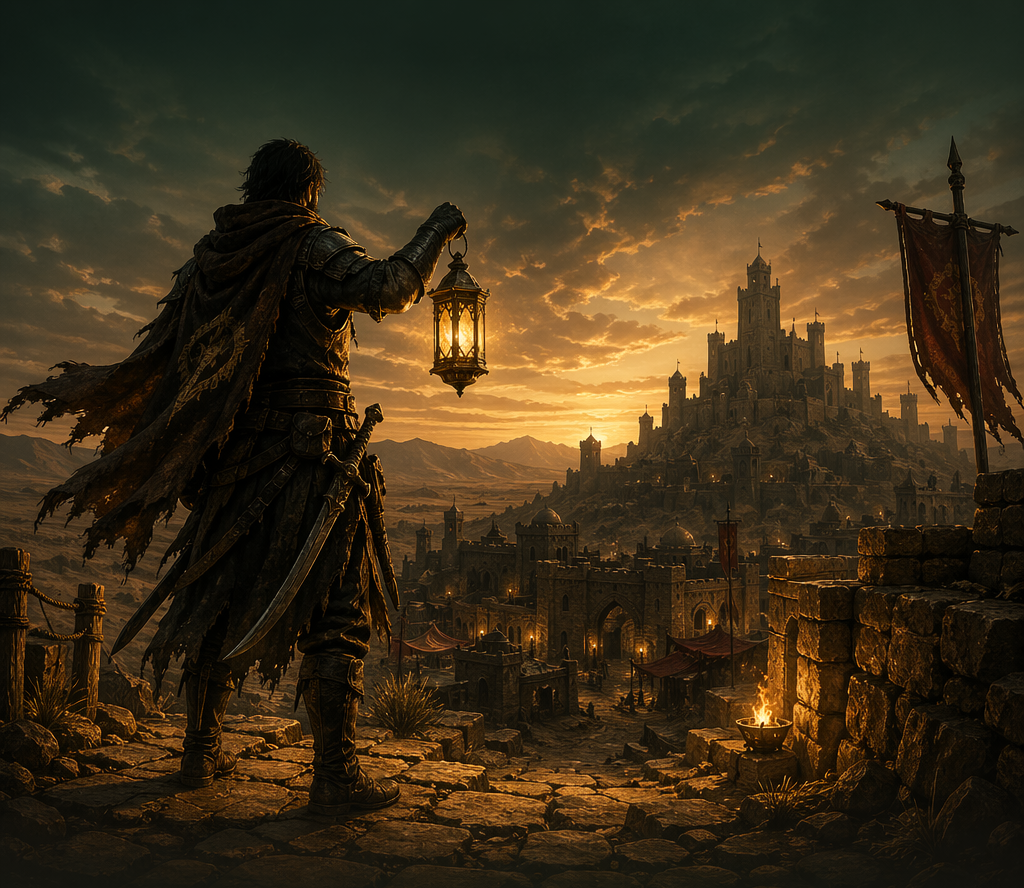
The lantern is one of Crimson Desert’s more mysterious early mechanics. The most common problem players report — “the lantern lights up but nothing happens” — comes down to this mechanic being a two-step process that the game barely explains.
Equipping and Turning On the Lantern
First, the lantern needs to be equipped and actively turned on, not just sitting in your inventory. Open the radial equipment menu, select the lantern, and set it to On — not Auto, which can behave unpredictably. On PlayStation, use Left on the D-pad to open the wheel. On Xbox it’s the same, and on PC it’s F2.
Once it’s on, hold L1 (PlayStation), LB (Xbox), or Left Ctrl (PC) to raise the lantern and project its beam in front of you.
The Two-Step Memory Reading Process
Here’s the part that catches most players: reading a memory fragment requires two different items used in sequence, and skipping either step means nothing happens.
Step one is learning the fragment. Walk to the memory location until your lantern starts glowing blue and pulsing. Raise the lantern and aim it at the ghostly figures visible near the fragment. A progress bar — the learning bar — will fill. You need to hold the position until the bar completes. If nothing is happening, you’re either not standing in the exact right spot, or the lantern isn’t toggled to On in the radial menu (not just selected — actually active).
Step two is playing the memory. Once the fragment is learned, open the menu and equip the Visione helmet. Select the relevant memory from the Visione’s list and choose Play. The memory will play back as a cutscene.
If you’re trying to learn a specific memory — like the cow whereabouts fragment in the Trial After Trial quest — clear any enemies from the area first, then walk to the centre of the quest zone. The lantern only reacts at the precise location, not just nearby.
Building the Greymane Camp
The Greymane Camp, located at Howling Hill south of Hernand Town, becomes available in Chapter 3 after a key story battle. When you arrive, the game will walk you through the physical setup — pushing a cart, planting a banner, driving stakes — but after that, it leaves you to figure out the expansion system yourself.
What the Camp Icons Mean
The camp provision interface is where most players get stuck. When you talk to Carl at the camp and open Camp Provisions, you’ll see a series of icons representing different resource categories. They can look arbitrary at first. Here’s what each one tracks:
- Helmet icon — Comrades (Greymane members)
- Gear/armour icon — Weapons, armour, and upgrade materials
- Rock/ore icon — Stone and ore
- Logs icon — Timber
- Oil can/bags icon — Provisions, food, and consumables
- Coin icon — Money (use Donate Funds for this one)
To fill these categories, talk to Carl, choose Manage Provisions, select the matching item type, and donate. Each donation contributes to the camp’s overall resource totals, which unlock upgrades, dispatch missions, vendors, storage, and eventually a ranch and fast travel access.
Running Dispatch Missions
Dispatch missions are run through a separate interface that confuses a lot of players because it doesn’t appear where you’d expect. To access it, open the world map, hover your cursor directly over the Greymane Camp / Howling Hill node, and press Inspect — Triangle on PlayStation, Y on Xbox, double-click on PC. This opens the camp view with a Missions tab.
If the Inspect option isn’t appearing, you’re likely hovering the region rather than the camp node itself, or you haven’t advanced far enough in the Chapter 3 camp questline yet. You can also access missions directly by talking to Ross at the camp.
Combat Basics and Dual Wielding
Crimson Desert’s combat is fluid and combo-driven. This isn’t the place for a deep build guide, but there are a few things worth knowing early.
The Combat Rhythm
Kliff’s basic combat loop rewards aggression with positioning and follow-through on combos. You have a light attack, a heavy attack, and a grab that works against appropriate enemy types. Most enemies telegraph their attacks with visible wind-ups, and learning to sidestep rather than block is generally more effective in the early game.
Don’t neglect the dodge roll. Stamina management matters in longer fights — if you’re spamming dodges and running dry, you’ll be stuck in place when the next attack comes.
How to Dual Wield
Dual wielding is available from early in the game and changes Kliff’s moveset significantly. To equip two one-handed weapons, open the weapon radial menu by holding Left on the D-pad, navigate to the shield slot, and swap the shield out for a second one-handed weapon. Kliff will enter dual-wield stance automatically once both slots are filled with compatible weapons.
Two-handed weapons can’t be paired for dual wielding. Different one-handed combinations are allowed, and dual wielding trades some defensive options for increased damage output and a wider attack pattern.
The Slide
One mechanic players often miss early: you can slide by pressing the crouch button while sprinting at full speed. On PlayStation that’s pressing L3 (the left stick click) while running; on Xbox, the same input applies. It’s more useful than it sounds for navigating terrain quickly and closing gaps in combat.
Life Skills: Fishing, Pets, and Trade Goods
Crimson Desert has a full life skill system that sits alongside the main content. None of it is required to progress, but all of it has practical value — pets help with looting, fishing produces resources, and trade goods generate silver.
Fishing
The fishing mechanic has a specific rhythm that catches players out, especially with a controller. When a fish bites, press the hook button immediately (RT/R2 on controller). While the fish is fighting, pull your movement in the opposite direction — don’t reel yet. Only reel once the fish slows and the splashing stops. Reeling during the struggle phase is what causes the line to snap.
If your line is breaking instantly on controller, plug it in by cable. Multiple players have reported that wireless controllers can cause the reel input to fail or the line to snap immediately — a known issue in the game’s current state.
Taming Pets
Dogs and cats can be tamed as companions by building their trust to 100. The process involves petting (which gives +5 trust, capped daily) and feeding, which gives significantly faster trust gains. Dogs accept meat. Cats are fussier — they prefer fish, bird-type food, or milk, and you need to pick them up before you can pet them.
The easiest early dog is the Brown Dog in Hernand, near the bounty board. Once trust reaches 100, you’ll get a prompt to register the animal as a companion. Registered pets can follow you, help with looting after fights, and even be equipped with gear.
Selling Trade Goods
Items with a scale icon in your inventory are trade goods, and they can’t be sold at regular merchants. Unpackaged trade goods go to a Trade Goods Black Market — look for the vendor with a red tent and a gremlin icon. In Hernand, there’s one on the west side of town, southeast of the jail. Open Sell, select your trade goods, and confirm the sale.
Packaged trade goods are different — they require a wagon and a proper Trading Post, and you generally need 25 of the same item for bulk trading. If you’re just getting started, the Hernand black market is all you need.
Puzzles: What to Know Before You Hit the Stumbling Blocks
Crimson Desert has a substantial number of environmental puzzles, many tied to ancient ruins and Sealed Abyss Artifacts. Most players don’t know they exist until they stumble into one. Here’s a quick overview of what’s out there in the Hernand area.
Sealed Abyss Artifacts
These are challenge items found as altars on roads and in the world. Picking one up activates a specific challenge — carry five birds, defeat five enemies with a rapier in 60 seconds, sell three goats, and so on. Completing the challenge and then activating the artifact claims the reward. They’re worth engaging with throughout your playthrough; some unlock useful progression items.
Dungeon Puzzles
Several dungeons in the Hernand region have puzzle rooms with interactable objects. The Azure Moon Labyrinth (entered through a hut with a ladder at Phoniel Ranch — not the obvious cave entrance), the Dragon’s Stone Chamber (entered via a ravine south of Thinker’s Meadow, accessed by dropping down and pushing a mural door), and the Duskwood Waterside Ruins are all worth knowing about. Dedicated solutions for each are coming as part of this series.
Elemental Progression
Unlocking elemental attacks — fire, ice, lightning, wind — isn’t done by finding items in the world. Each element is unlocked by completing a chain of Abyss challenges leading to a specific dungeon. Lightning, for example, is locked behind the Spire of the Stars in Chapter 4. Once an element is unlocked, you select it from the element wheel and apply it to compatible skills through the imbue system.
Common Mistakes to Avoid in the Early Game
A few things players consistently get wrong in the first few hours:
Not picking up bounty posters. The target won’t appear on the map until you have the notice. If you’re wandering around looking for bounty targets without the poster, you won’t find them.
Forgetting to toggle the lantern on. Having the lantern equipped isn’t enough — it needs to be set to On in the radial menu before it will react to memory fragments. Many players have the lantern selected but not actually active.
Stopping at the Tie Up prompt during a bounty capture. Once the Tie Up prompt appears while fighting a bounty target, stop attacking immediately. Continuing will kill them and significantly reduce your reward.
Trying to sell trade goods at a regular merchant. Scale-icon items have their own selling system. The nearest black market in Hernand is on the west side of town.
Not advancing the main story to unlock camp systems. If the camp dispatch interface isn’t appearing, you probably need to progress Chapter 3 further before it becomes available. Exploring side content before the camp is established means missing the context that makes those systems make sense.
What’s Coming Next in This Series
This guide covers the foundation. As we continue playing and publishing, we’ll be adding dedicated posts for each of the systems introduced here — the full bounty system, fast travel locations, the Greymane Camp expansion, lantern troubleshooting, puzzle solutions, and more. Keep an eye on the series as it builds out.
If you’re enjoying Crimson Desert as a starting point for action RPGs and want to see what else the genre offers, our rundown of the best CRPGs for your gaming sessions is worth a look. And if you’re still deciding whether this is the game for you, 10 Things to Know About Crimson Desert Before You Buy has everything you need to make the call.
Have a question from the early game that we haven’t covered here? Drop it in the comments — we’re building out this series based on what players are actually running into, and your question might shape the next guide.
Sign up to the Forst Stories newsletter to be notified when the next Crimson Desert guide goes live.
Continue Your Journey
- 10 Things to Know About Crimson Desert Before You Buy — essential pre-purchase reading, and useful context if you’re still finding your feet
- What is an RPG Computer Game? — a primer on the genre if Crimson Desert is your entry point into action RPGs
- Baldur’s Gate 3 Review — the gold standard for narrative CRPGs, if you want to explore a very different flavour of the genre
- Best CRPGs for Your Gaming Sessions — a broader roundup of where to go next after Crimson Desert
RPG news, GM tips, and system deep dives — straight to your inbox, no filler.